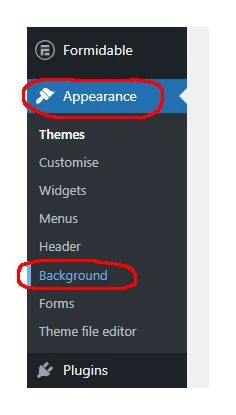
You can find the Appearance settings in the left-hand menu. We can ignore some of the options here (Themes, Header, and Theme file editor). We can also ignore Widgets and Forms here as they are covered in other training documents.
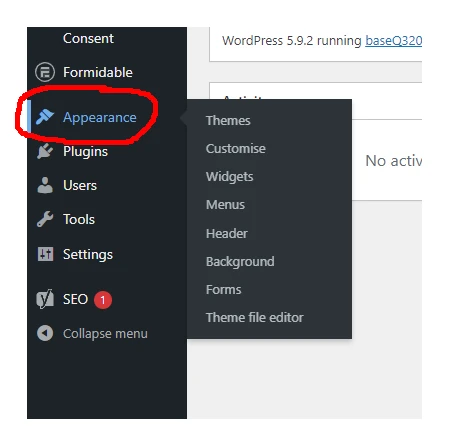
Let’s look at the Customise option here. Some of the options in this section are the same as the ones in the main Appearance menu so I’ll ignore those here and cover them further down this document.

Site Identity
This is where you can update your Logo, Website Title and Tagline, and the Site Icon.
Colours
You can choose the background colour for your website here. If you have an image as the background, then you won’t see the background colour.
Homepage Settings
In this section you can choose which of your pages is to be your Homepage and which is to be your default Blog page (if you have a blog on your website).
We can ignore the rest of the options here. They’re either covered elsewhere (in this document or another one) or we don’t need to do anything with them.
To get back to the main Dashboard screen, click the X in the top-left area.

Once you’re back on the main Dashboard you want to click the Menus option in the Appearance section.
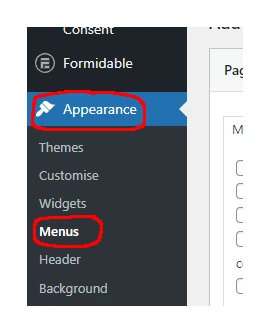
Menus
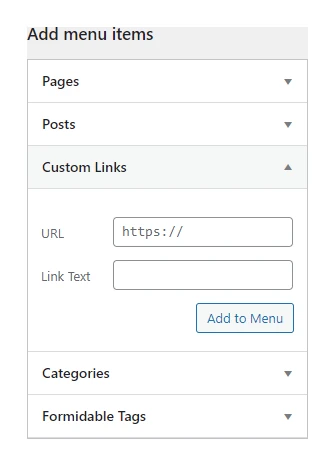
This will bring up your Menus page where you can add new pages you’ve created to your menu. The image below will explain how you can do this.
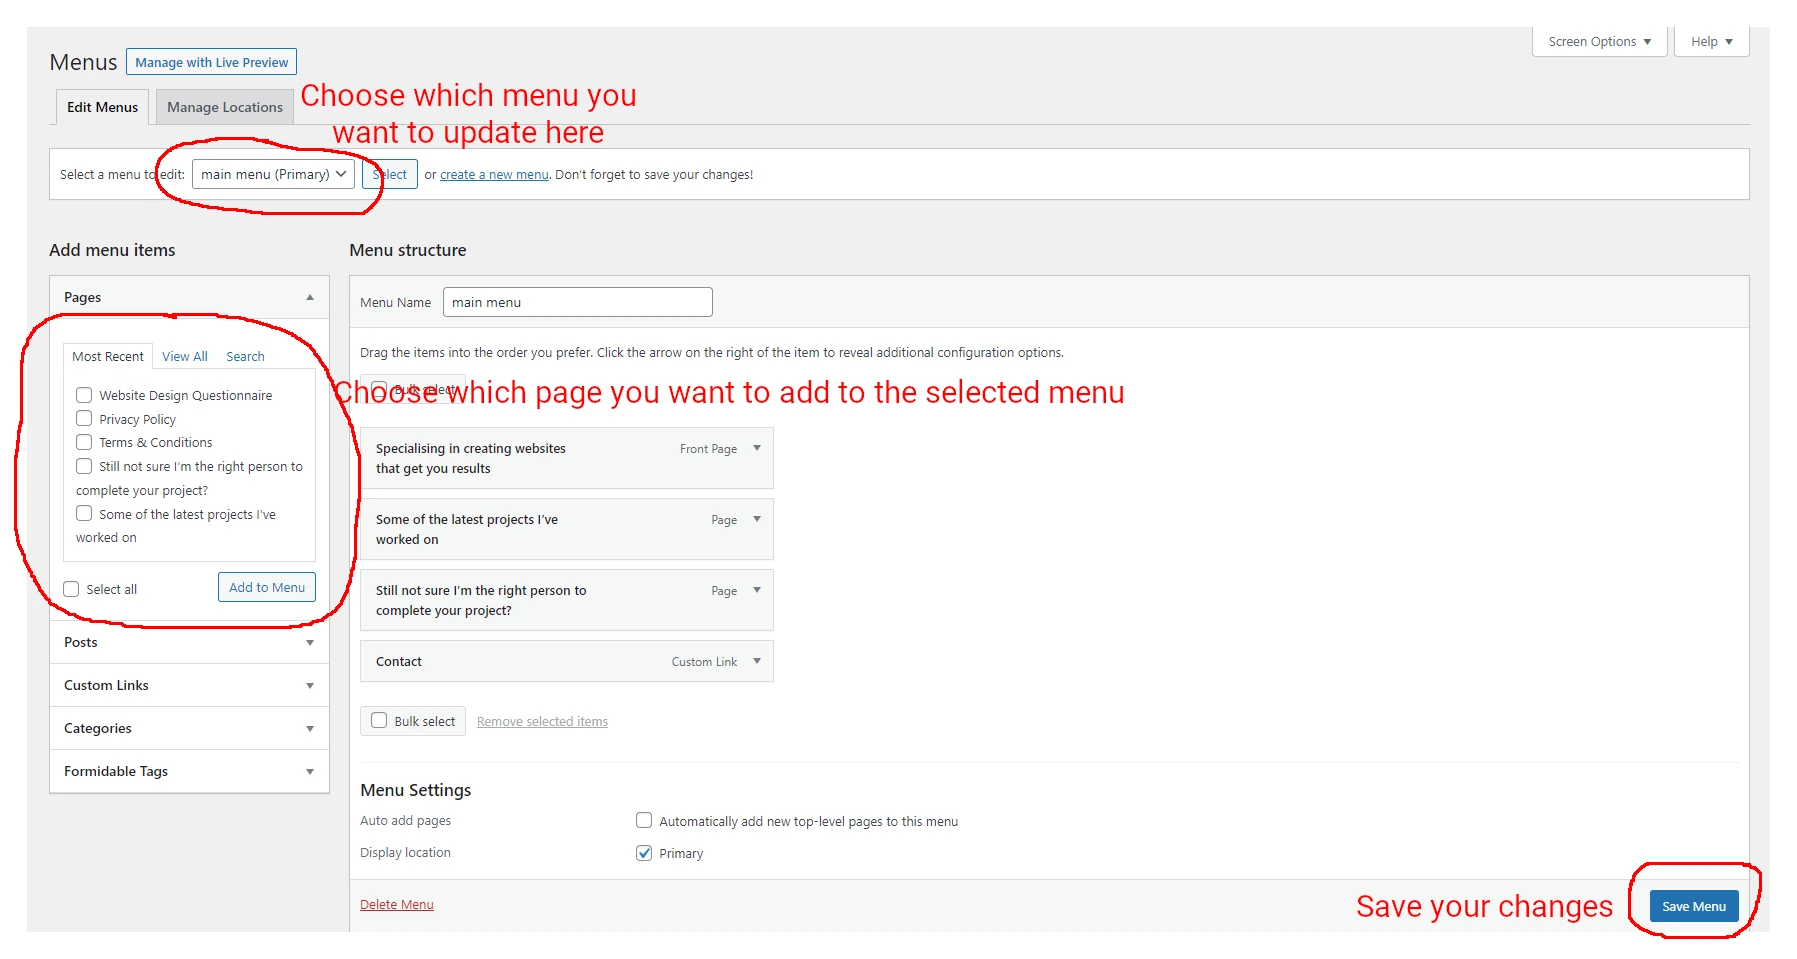
You can also add Blog Posts and Custom Links to a menu.
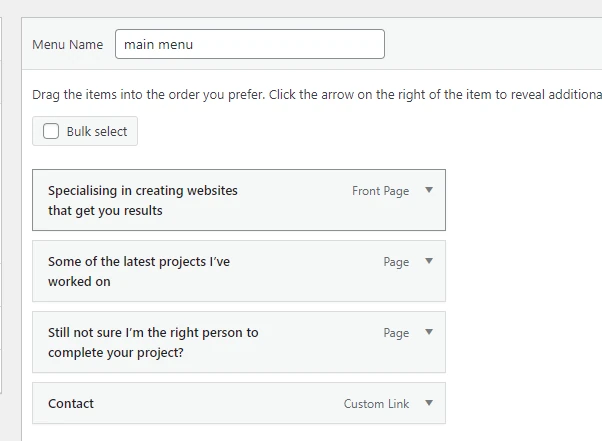
It’s easy to rearrange the order of the menu items. All you need to do is hover the mouse pointer in the highlighted section (it will change to the pointer or a cross with arrows), hold down the left mouse button and drag up or down. Click Save Menu in the bottom-right area when you have finished making your alterations.
Background
Click Background in the Appearance menu. You can remove or change the website’s background image here. You can also set the position, if it will fill or fit the screen, repeat etc. Click Publish when you’ve finished making your changes. To get back to the main Dashboard afterwards just click the X in the top-left area.