
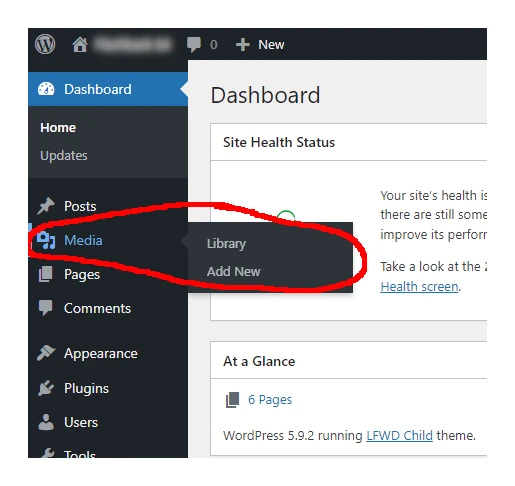
Click on Media then Library in the left-hand menu. This will open your media library.
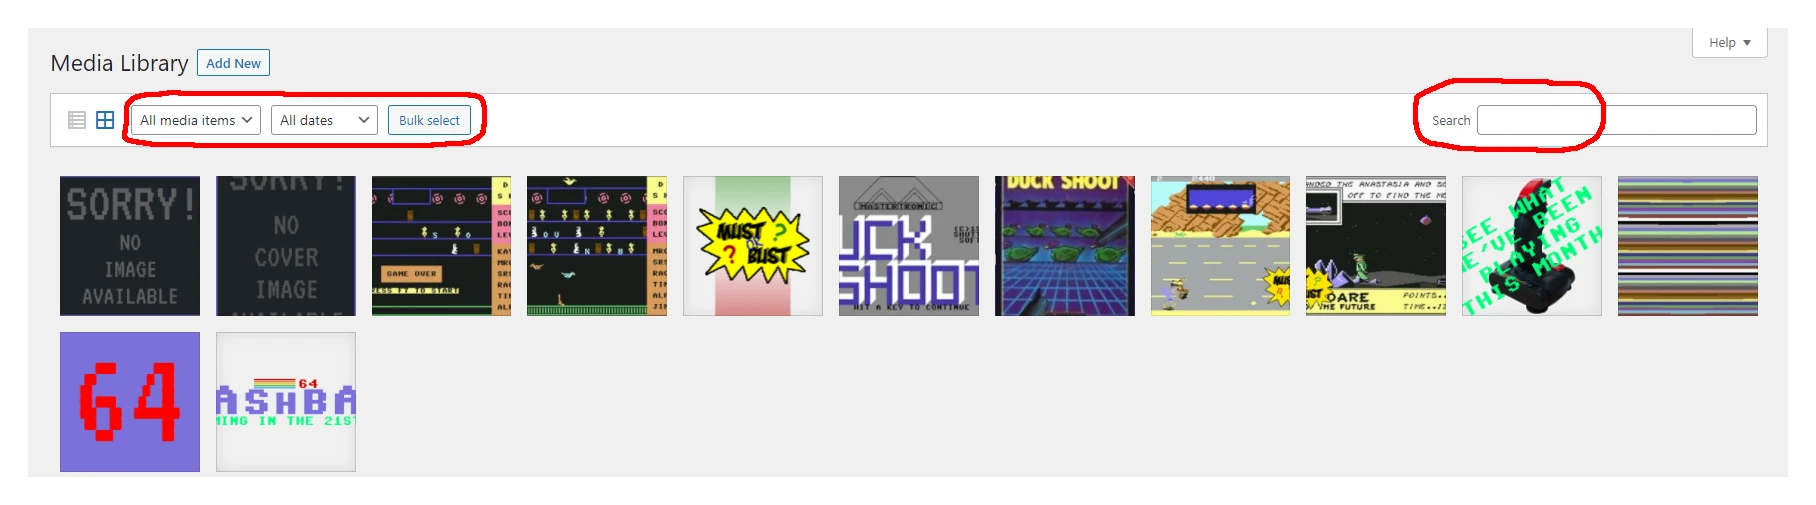
You will see all your media files here. In the top-left area, you will be able to filter the results by type and date. You can also Bulk Select files to delete them. There is a search function in the top-right area where you can filter results by keywords.
Click on any image to bring up information about it, and the ability to edit it. We’ll look at the right-hand side first.
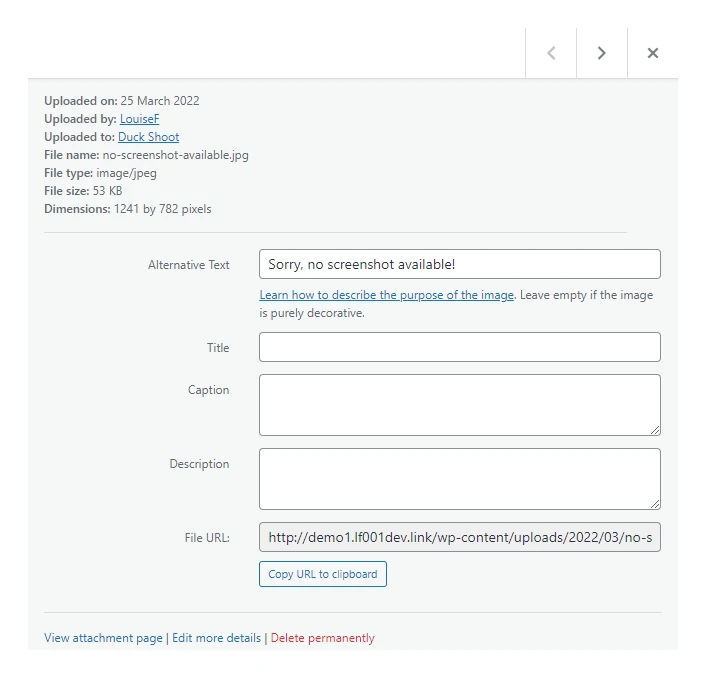
Alternative text
Everything here is self-explanatory, but I will explain a little about Alternative Text. It’s important you describe the image in this box (much better than I did in this example).
Alt text is a short written description of an image, which makes sense of that image when it can’t be viewed for some reason. Well-written alt text is important to your website’s accessibility, and its search engine optimisation (SEO).
Any information you add or alter here is automatically saved. If you click the left or right facing arrows at the top, you can flip between the media files in your library.
Editing and cropping an image
Now we will look at the other side of this page. Underneath the image you will see a small button that says Edit Image. Click this button.
This brings up options for you to edit the image. You can do things like scaling the image, flipping it, rotating it, etc. You can also crop the image here too. This feature is useful if you don’t have access to a paint program (Photoshop or GIMP for example). I’ll show you how to do this now.
First, click the Crop button on the left-hand side (this will bring up the animated dashes around the image). Now you want to type in the new dimensions into the Selection box on the right.
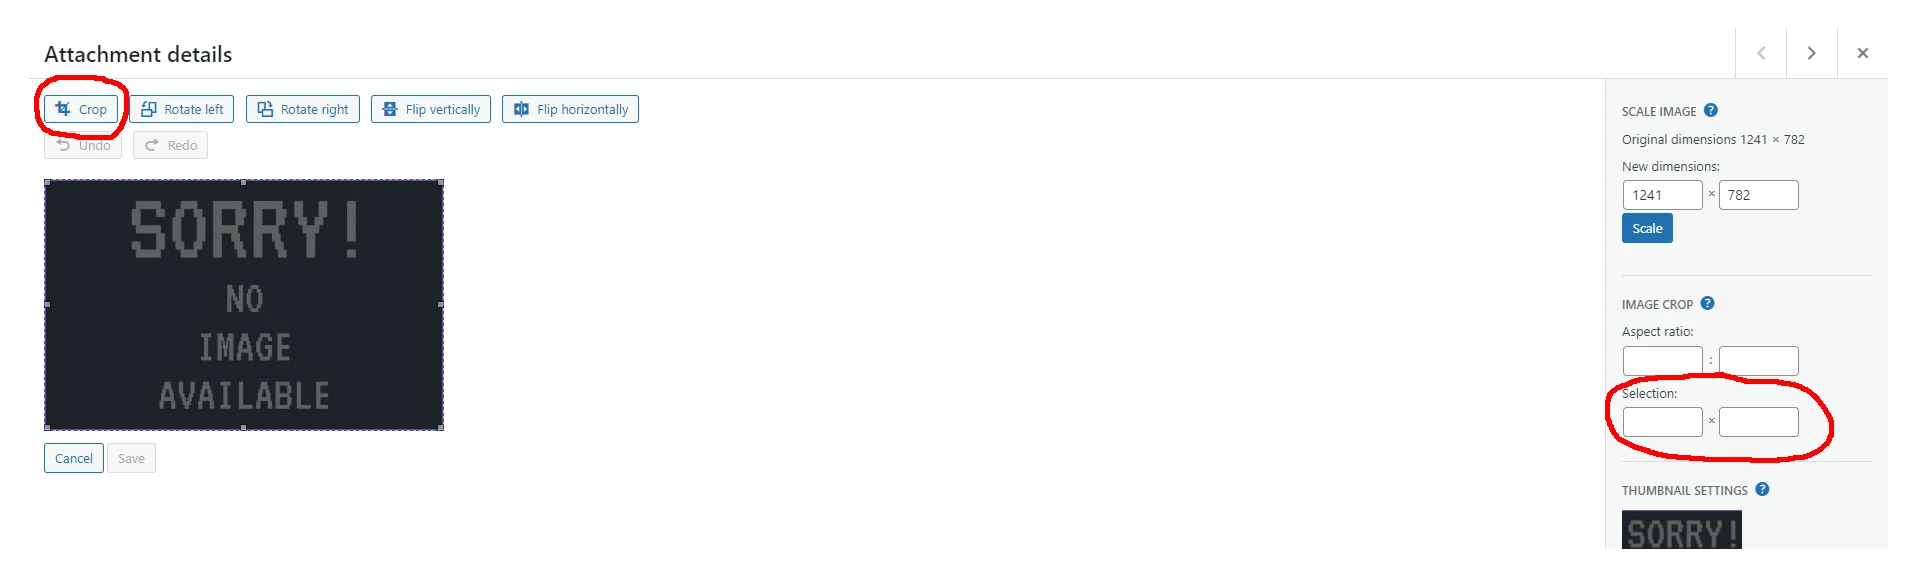
Don’t press anything after you do this. If you look at the image on the left now, you will see there is a highlighted area which you can drag around to highlight the part of the picture you want to display. Try and drag the inside of the highlighted area and not the edges or corners (doing that will change the shape of the area). If you do accidentally do this, all you need to do is put the numbers into the boxes for the Selection area again.
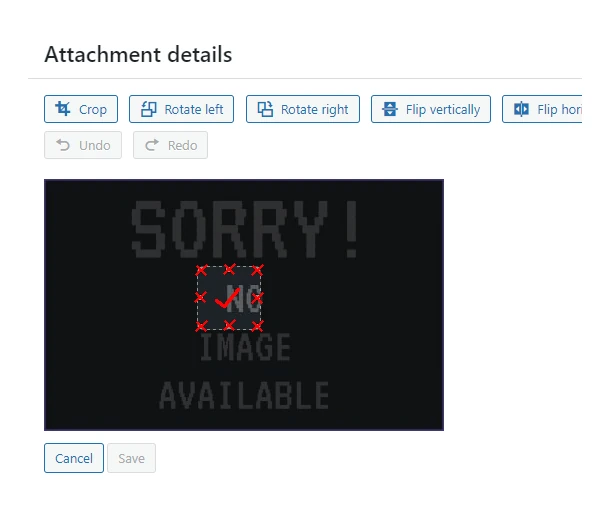
Once you’re happy with the section of the image that is in the highlighted area, click Crop (above the image) and then Save (below the image). You will still see the full-size image in your Media Library, but the cropped version will appear on the front end of your website.
General advice about images
It’s a good idea to use JPG files where possible. These kinds of image files are smaller in KBs than PNG or GIF. This will help the images load more quickly on the webpage. People like a website that loads quickly. If they have to wait for a website to load, they might get fed up of waiting and move on to your competitors’ website.
It will also save space on the server. I’ve seen images where the file size has been over 5MB, just for one image. If you have a lot of images on your website, just imagine how much space they’re taking up.