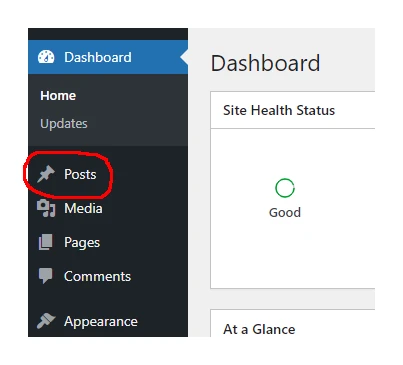
Click on Posts in the left-hand menu. This will bring up all the blog posts you have created so far. It works like the Pages page here. If you hover your mouse pointer underneath each blog title, you’ll see the options to Edit, Quick Edit, Bin, etc.
If you click the Add New button in the top-left area you will see that it is almost the same as working with the default page template. The only real difference is the options on the right-hand side. Let’s look at some of these more closely.
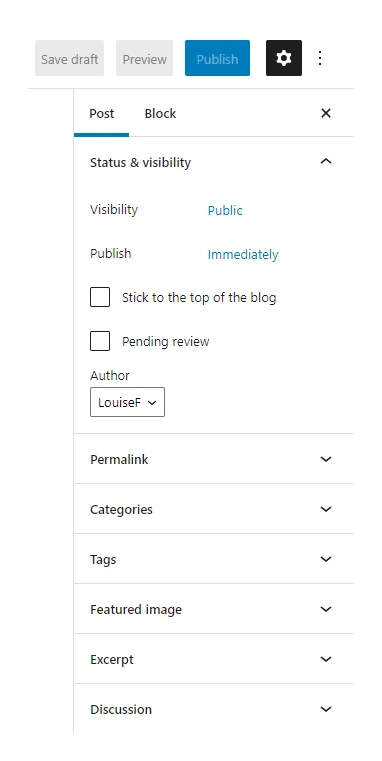
Categories
You can assign your blog posts to categories. If you have the Categories widget visible on your website, readers can easily jump to a certain category and see all the blog posts in that category (a bit like shopping in a department store, you might have a music section, clothing section, home furnishings etc.). It is completely optional to use this.
Tags
These are more specific than categories. These can be keywords. A bit like going into the music section of a department store (the category) and looking for the classical music section (the tag). Like the categories, tags are completely optional to use.
Once you’ve finished creating your blog post, just click the Publish button in the top-right area.
Scheduling posts
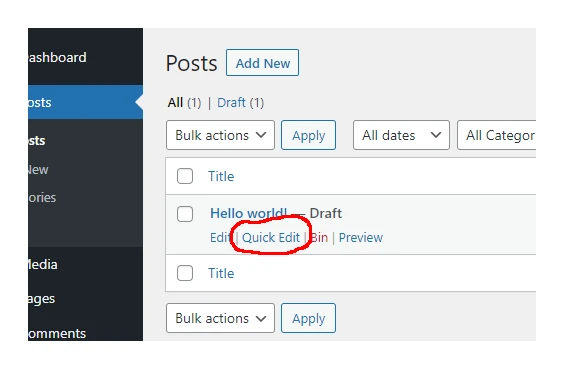
It’s worth noting here – if you click Quick Edit, you can schedule blog posts to be published in the future. You can easily change the date and time here (making sure you click Update once you have altered it). You might not need to do this, but this could be handy if you’re going to be away on holiday for a couple of weeks and still want the website to be ‘active’ while you’re away.
Adding a “Read More” link
Your blog is probably set up to automatically add a “Read More” button on the main blog page. If that’s the case, then you have finished here. But if it isn’t, keep reading.
If you want to add a “Read More” type link to your blog posts, all you need to do is add it while editing your blog post. Choose the cut-off point where you want this to show up and place your cursor at the end of the paragraph (just left-click after the full stop).
Hit the enter key to create a new block, and then click on the + sign that appears on the right.
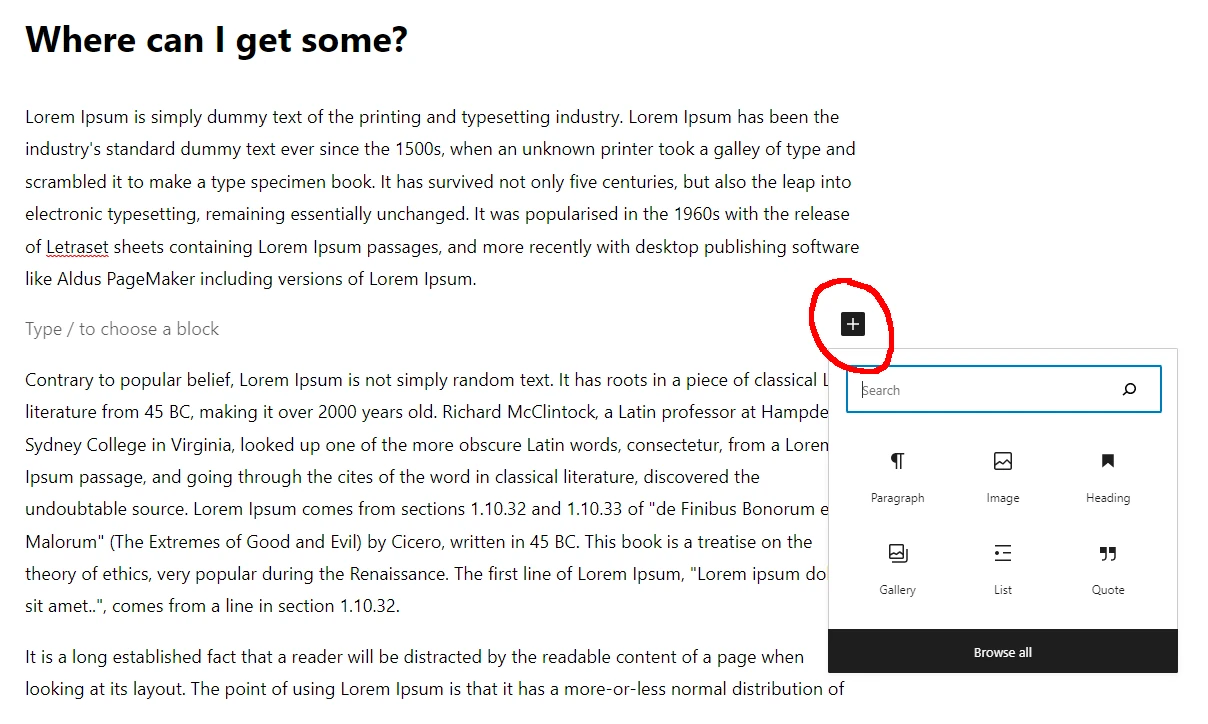
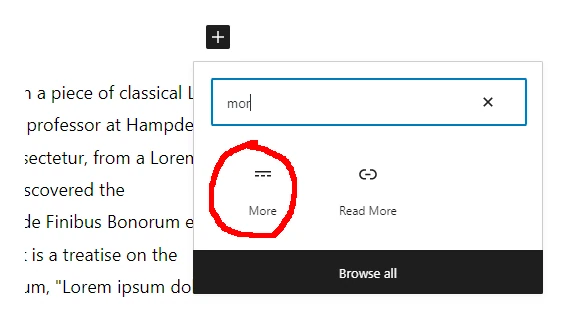
In the search bar, type in more, and choose the option that says More (not “Read More”).
Once you’ve done that, click Update (in the top-right area) to save your post. If you now visit your main blog page, you will see your post now shows up with the “read more” link as opposed to all of it being visible at once.
Final note: If you want to add a featured image to a post see the screenshot below.